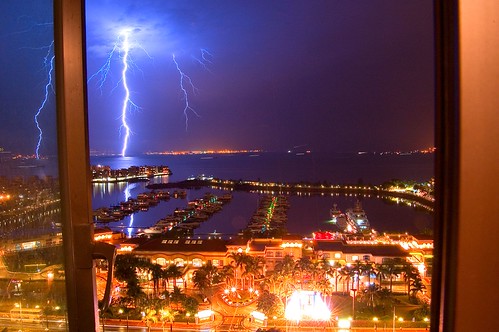
This is the first HDR image I ever saw, and I was blown away by it. I sat staring at my computer screen and thought “Wow. How did they even do that?”
Then, I saw the flickr tag [HDR] attached to the image, clicked it, and the door to a whole new world of image possibilities was opened. I’ve tried a few of my own HDR images, which don’t compare to the masters of the art but which are fun to shoot and intriguing to play with. The problem is, ever since I’ve started seeing these images, I’ve seen comments underneath them which decry them as being fake, or not really photographs. This is a position that I don’t accept at all, and I always feel that people have a weird, narrow and close-minded idea of what a photograph is.
Photography is an Art, not a Competitive Sport.
Sport needs rules. FIFA, IOC, NBA, ICC and a whole host of international and local acronyms exist to evaluate performances, equipment and rules of every game invented, to make sure that what happens on the pitch, court or field is cricket, football, golf or basketball or whatever, and that each event is fair and the playing fields are level. Photography is not like this. There is no International Photographic Committee, which regulates which cameras, lenses and tripods are acceptable, and which technique is allowed to you on game day. There are no performance-enhancing techniques that are banned, and there is no way of making an image that is outlawed due to an unfair advantage.
Photography is a communicative art form, and that means that anything goes when it comes to making an image: if you can communicate the picture of the world that you had in your imagination to someone else through an image, you’ve succeeded. End of story.
All media are less than perfect at representing the world due to technical limitations which arise from the physical characteristics of that media, and it would be a dumb to try and limit development of a medium because it will be better than it was before. The essence of development is extension and improvement, and this has been happening to photographic media ever since the first silver nitrate image was made. HDR techniques are the latest imaging trend in a long line of developments which can be traced back to at least 1280 AD, and the development of silver nitrate by Abertus Magnus. Yes, people. 1280 AD.
It always gets me when people say “Nice work, but it’s not really photography – more like cheating” when talking about an imaging technique. I guess Man Ray may have had some of these comments while showing his solarized images – but it seems that in the digital imaging age, more techniques are being developed, and more people are taking photography seriously. Many of these people seem to have forgotten that “image” and “imagine” come from the same root, and that Latin root “imago” refers to “an idealized mental image” of another person or of the self.
It’s that definition of image that we should remember with photography. There really is no such thing as photographic realism – even for journalism. In the old days of “pure” analogue photography the photographer could select image elements and manipulate them with camera settings and darkroom techniques. Photography could only approximate reality, but never truly represent it. A photographer should realize that their craft occupies a nexus between their experiential world and their inner world, and that any method of realizing either of these worlds in a two-dimensional format is fair game.
Hello HDR
Enter the High Dynamic Range image. And it’s kind of disappointing to see that even in this small and contested niche of imaging, there are 2 separate debates as to HDR’s authenticity as an imaging method. The first is whether HDRs are photographs, and the second is which method of creating an HDR is the “true” method. So I’m going to talk first about what an HDR image is, and then we’ll see that there really is no such thing as a “true” or a “false” HDR image.
An HDR image is a single image which has used more than one exposure value to create a dynamic range which extends beyond what is possible to capture with a single exposure. There is more detail, from shadows to highlights, than would be possible in an image using other techniques.
To create an HDR image, you generally need a digital camera that shoots at above 8-bit resolution and software that can overlay your images to create that heightened dynamic range in a single image. Of course you can use a scanner to scan your negs or prints, and people have developed techniques for brute-forcing JPEGs into HDRs, but to keep it simple I’ll just describe the RAW version.Photomatix is both easy and free to use, but leaves a light watermark until you pay for it.
"Pure" HDR images:
The easiest way to create your HDR is to find a non-moving scene with a lot of contrast from dark to light, and set up your camera on a tripod. First, set your light balance to manual, and adjust it according to your scene. Then, find the master exposure by shooting the scene at your camera’s recommended exposure. From this, you will adjust your shutter speed to shoot 3 images at lower exposure levels (by stopping down in 3 successive steps) and then you’ll return to the master exposure level and then shoot three images at higher exposure levels by stopping up in 3 successive steps).
You do this so that the camera has captured a range of images which will show detail from the vary dark areas of your scene into the very light areas.
Then, when you get home, open each image in camera raw, make sure that they are all the same white balance, and open them in your HDR generating software. The software will overlay the images, and then you will begin to have creative control over what the final scene will look like – from realistic but detailed to very saturated and akin to an oil painting done by an old master or renaissance era painting.
The other kind of HDR
That's great, if you can find a scene that doesn't move. But what happens when you have things in the frame that won't godammed settle down. Trees blowing in the wind. People. Animals. Cars. Even clouds or waves, if you are using longer exposures. Well, then you use your single raw file, adjust the exposure level using camera raw in the manner described above (Master, 3 incremenal stops down and 3 incremental stops up) and save the files as copies. Then, open in your HDR software, blend, rinse and repeat.
Making it look right (or wrong, depending on what you're trying to do)
I can’t do better than this blog at describing what that creative control of an HDR image entails, so I’ll send you on over for further reading. It's a great read, and it's got some stunning HDR images to keep you turning the digital pages, so have a look - it didn't start a wave of interest that redefined blog reader statistics for nothing!
So, there we have it. HDR. Hardly a tool of the devil, now is it? Certainly not going to bring civilization as we know it to its knees. Just a very nice tool for you to render your mental image of a scene in a two-dimensional way. And if you want to see why you may want to do this, have a look at these phenomenal HDR images, and keep going back to the HDR group on flickr.
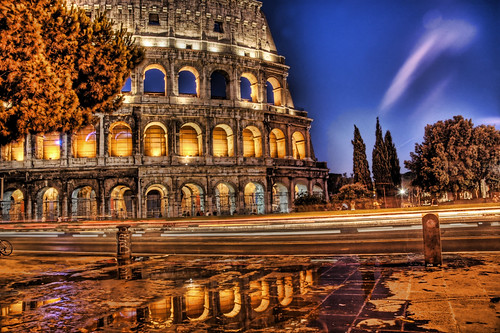
A perfect example of a little HDR processing going a long way. The photo doesn't look blown out into the realm of painting, but there is a range of detail across the light spectrum which adds to the "interestingness" of the image.
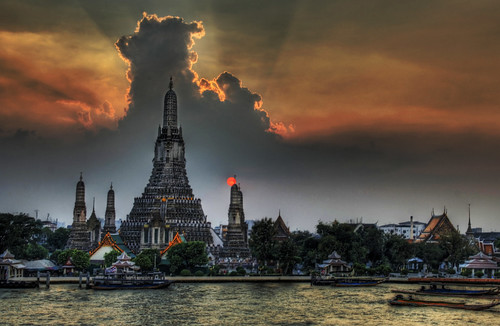
I love this one, not just because of the techinical skill (although Stuck in Customs does have a lot, and many other photos display it to greater advantage) but because I used to live justg behind this temple in Bangkok, and I would see it every day on my morning and evening ferry trips to work.
Another great photorealistic HDR, although the shooter argues that at the time he took this photo the sky didn't look anything like it does in the picture. This image is a poster child for HDR processing: I've tried very similar shots to this one at a turnoff to Nieu Bethesda in South Africa, and been very disappointed with the results: traditional camera techniques are inadequate for this kind of image. You could never get detail in the sign and have the sun behind it.
A great shot, and deceptively simple.
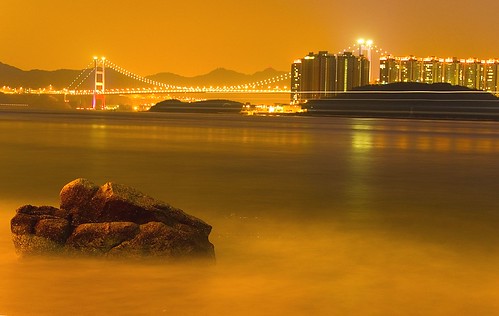
Here again we have that warm, rich "HDRness". And again, this image looks very much like a traditional photo. The crisp colours, and details in all of the shadows (even those pebbles have full shadow depth) is incredible. Again, this photo is shot into a setting sun, but we have colour, texture and perspective. Traditional methods would yield a silhouette.


